Anamorphic photographs
I currently use a Fuji XPro-3 as my primary field camera. Usually, I shoot with the Fujinon XF 16mm F1.4 R WR lens, which produces super-sharp and largely distortion-free wide angle images.
While I really like my current photography setup, I am always looking to try out different lenses. Most recently, I rented1 a Sirui 50mm F1.8 Anamorphic 1.33x to try out while teaching a field course in Wyoming. The Sirui is an anamorphic lens, which means that it has a larger horizontal field of view than a typical spherical lens. When used for still photography on the XPro3, the Sirui produces images that are approximately twice as wide as they are tall (i.e., a 2:1 aspect ratio)2. Of course, you can do the same thing by cropping a non-anamorphic image, but that means you are losing quite a bit of information.
The Sirui achieves a wider aspect ratio by squeezing (or compressing) the image horizontally. This distortion is readily apparent in the raw image that is recorded to the XPro3’s APC sensor (which has an aspect ratio of 3:2):
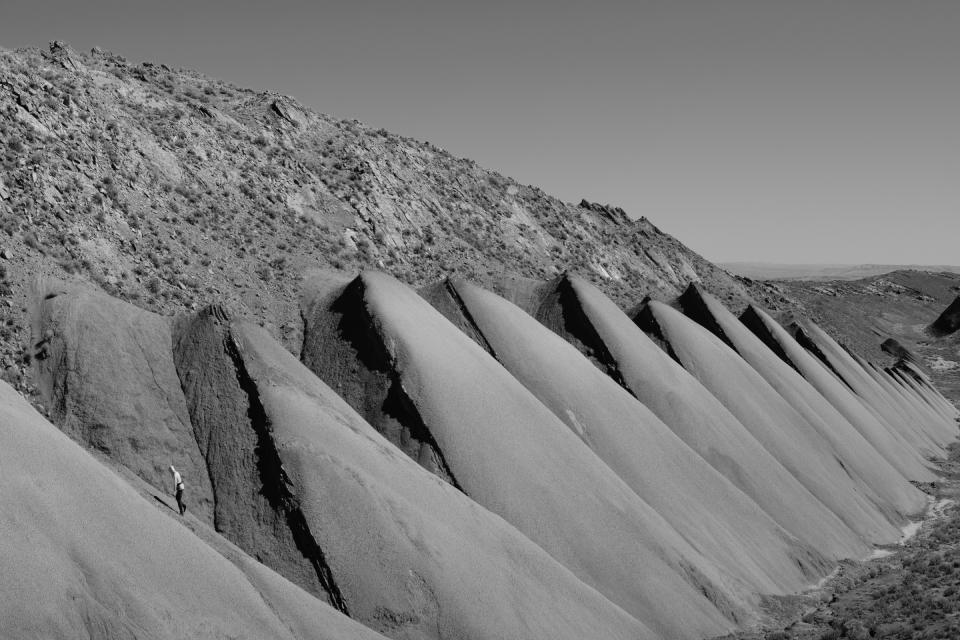
A squeezed image of flatirons made up of bentonite.
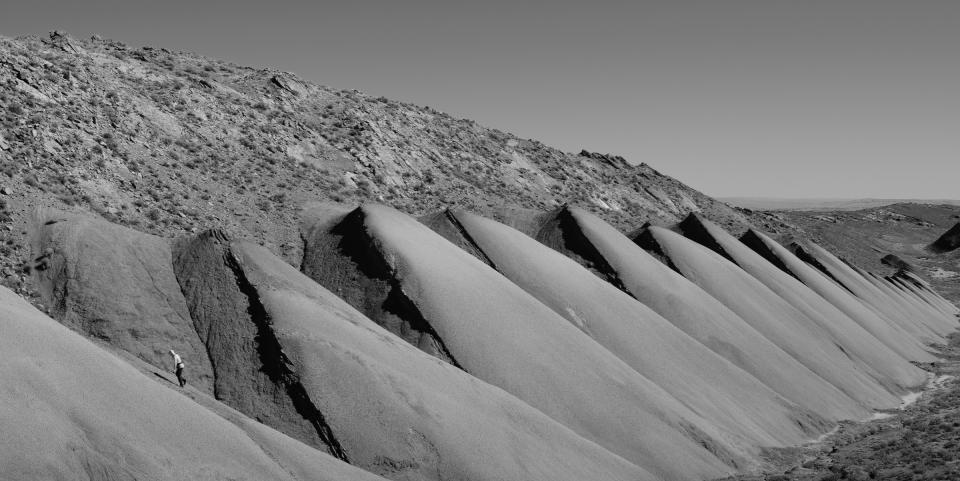
The same photograph, desqueezed.
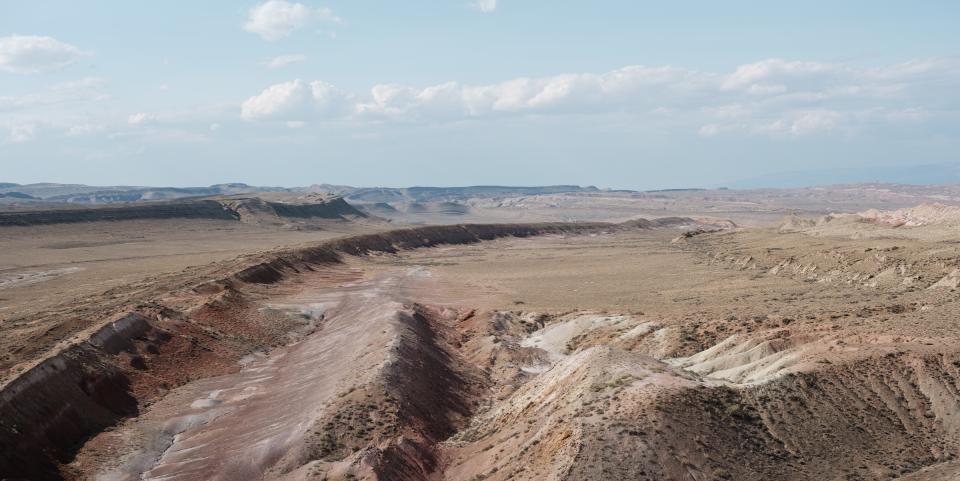
A view from the top of a resistant sandstone channel within the Clovery Formation near Sheep Mountain.
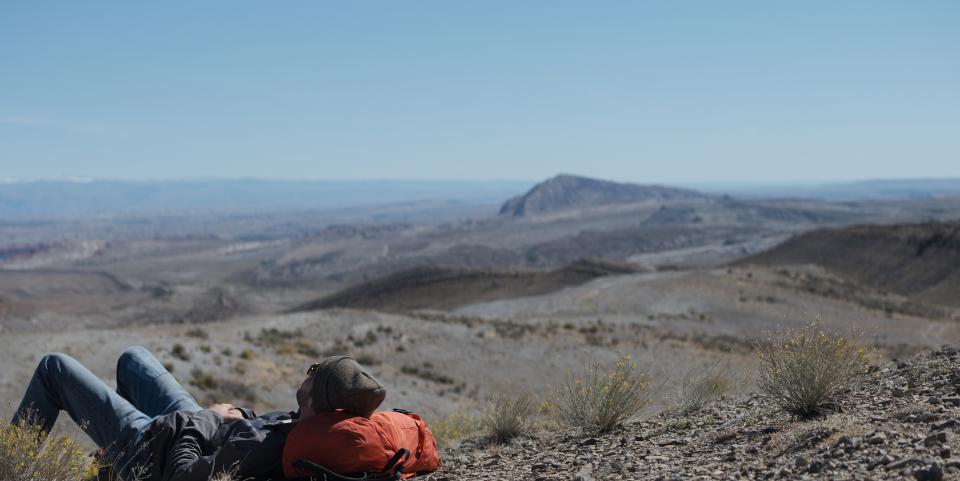
A post-lunch nap at Goose Egg.
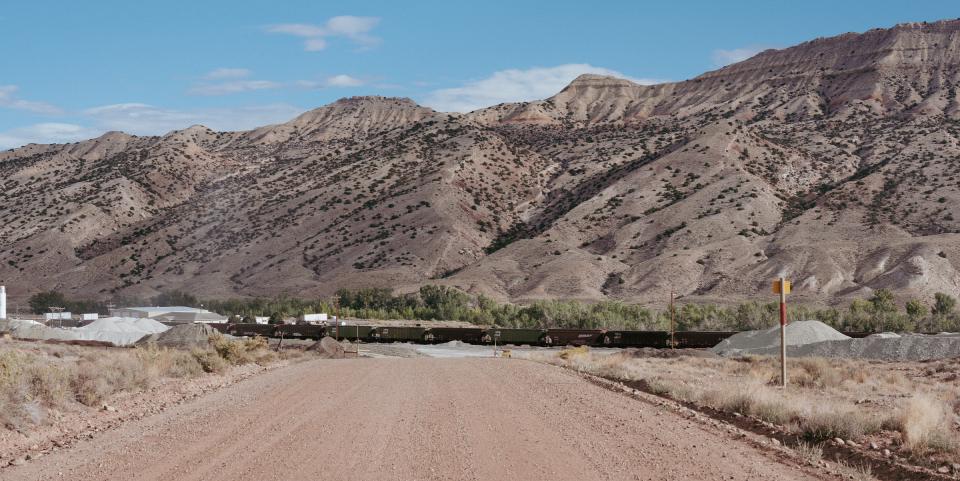
A bentonite processing plant near Greybull.
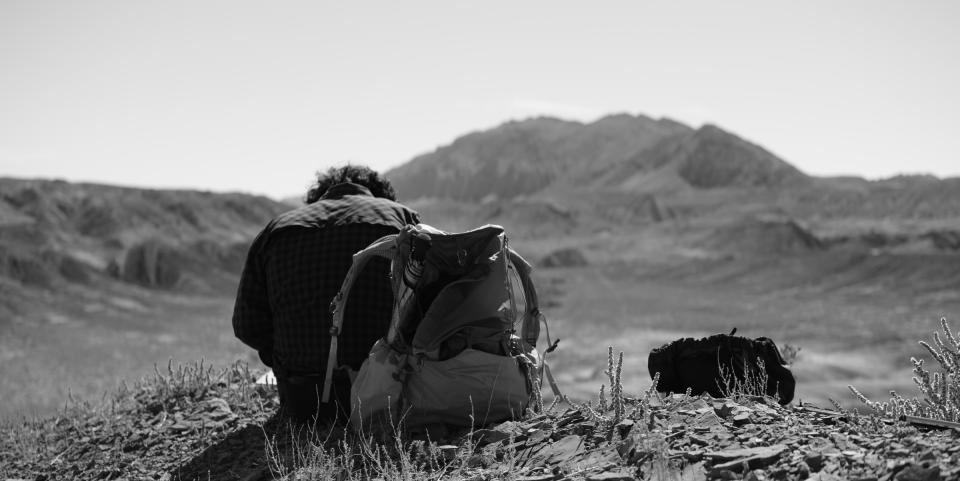
Taking notes while mapping Sheep Mountain.
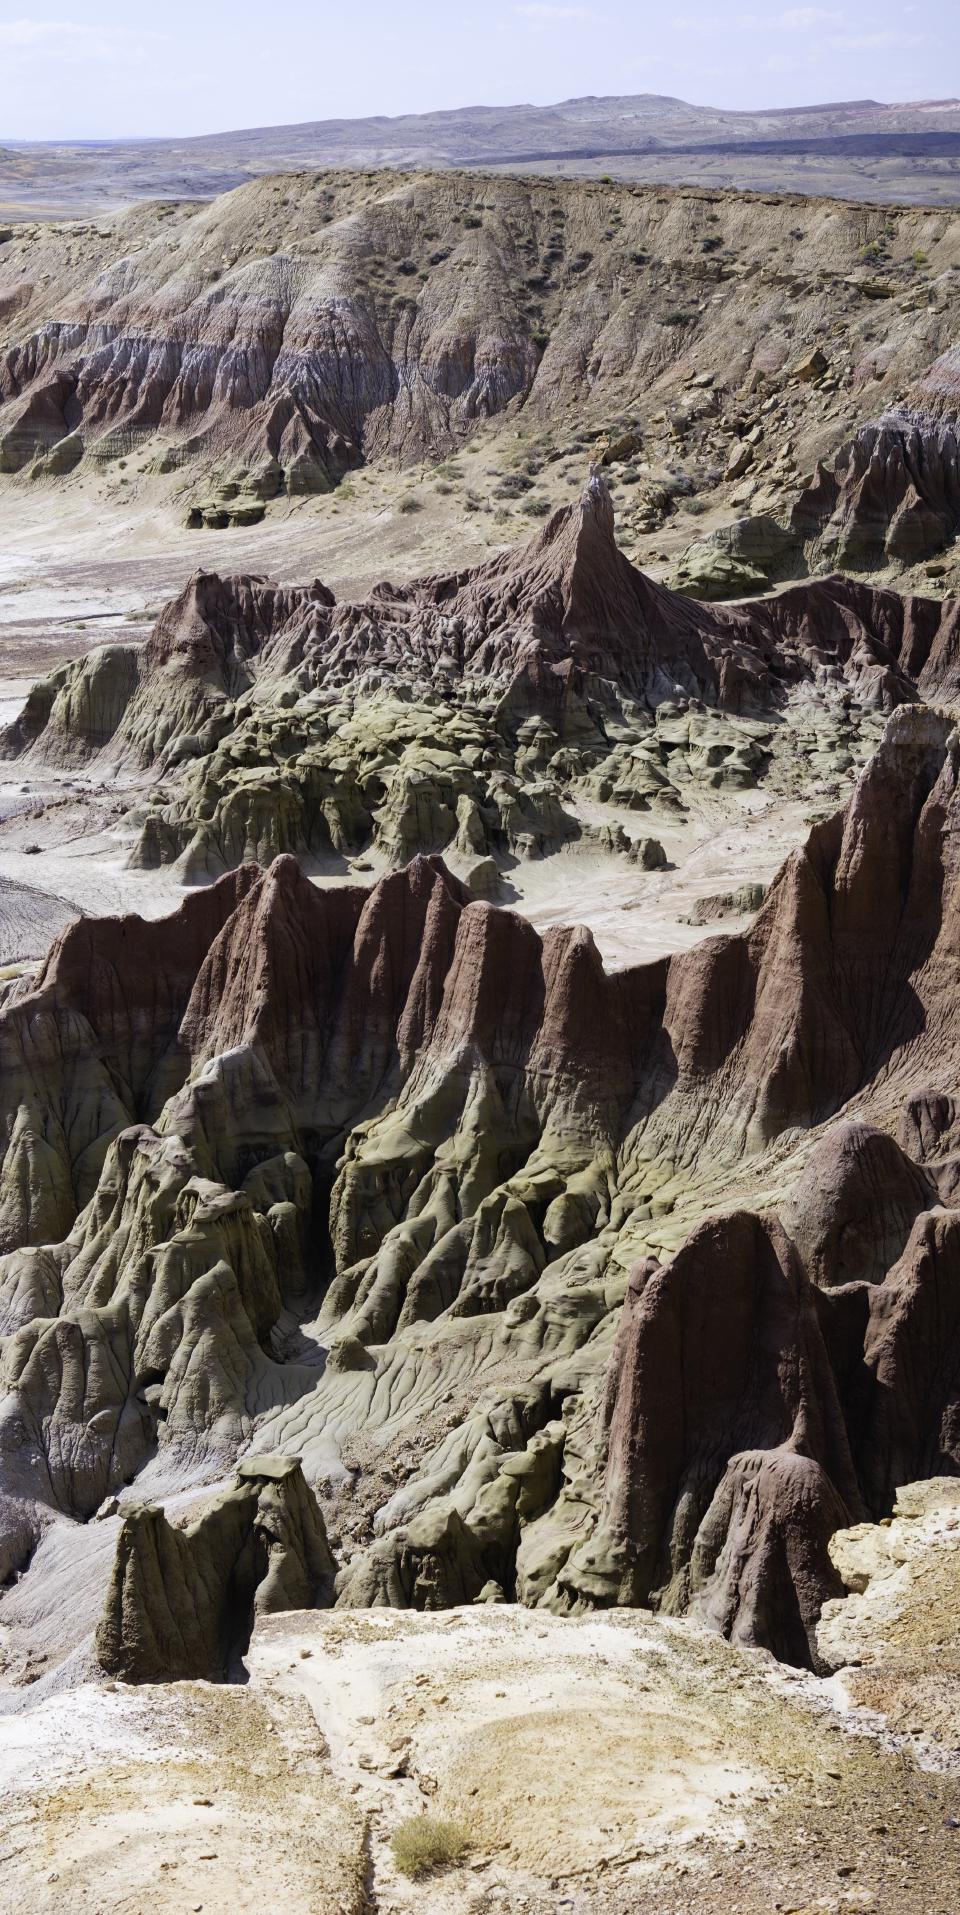
A view of Devil’s Kitchen on a hot, cloudless day.
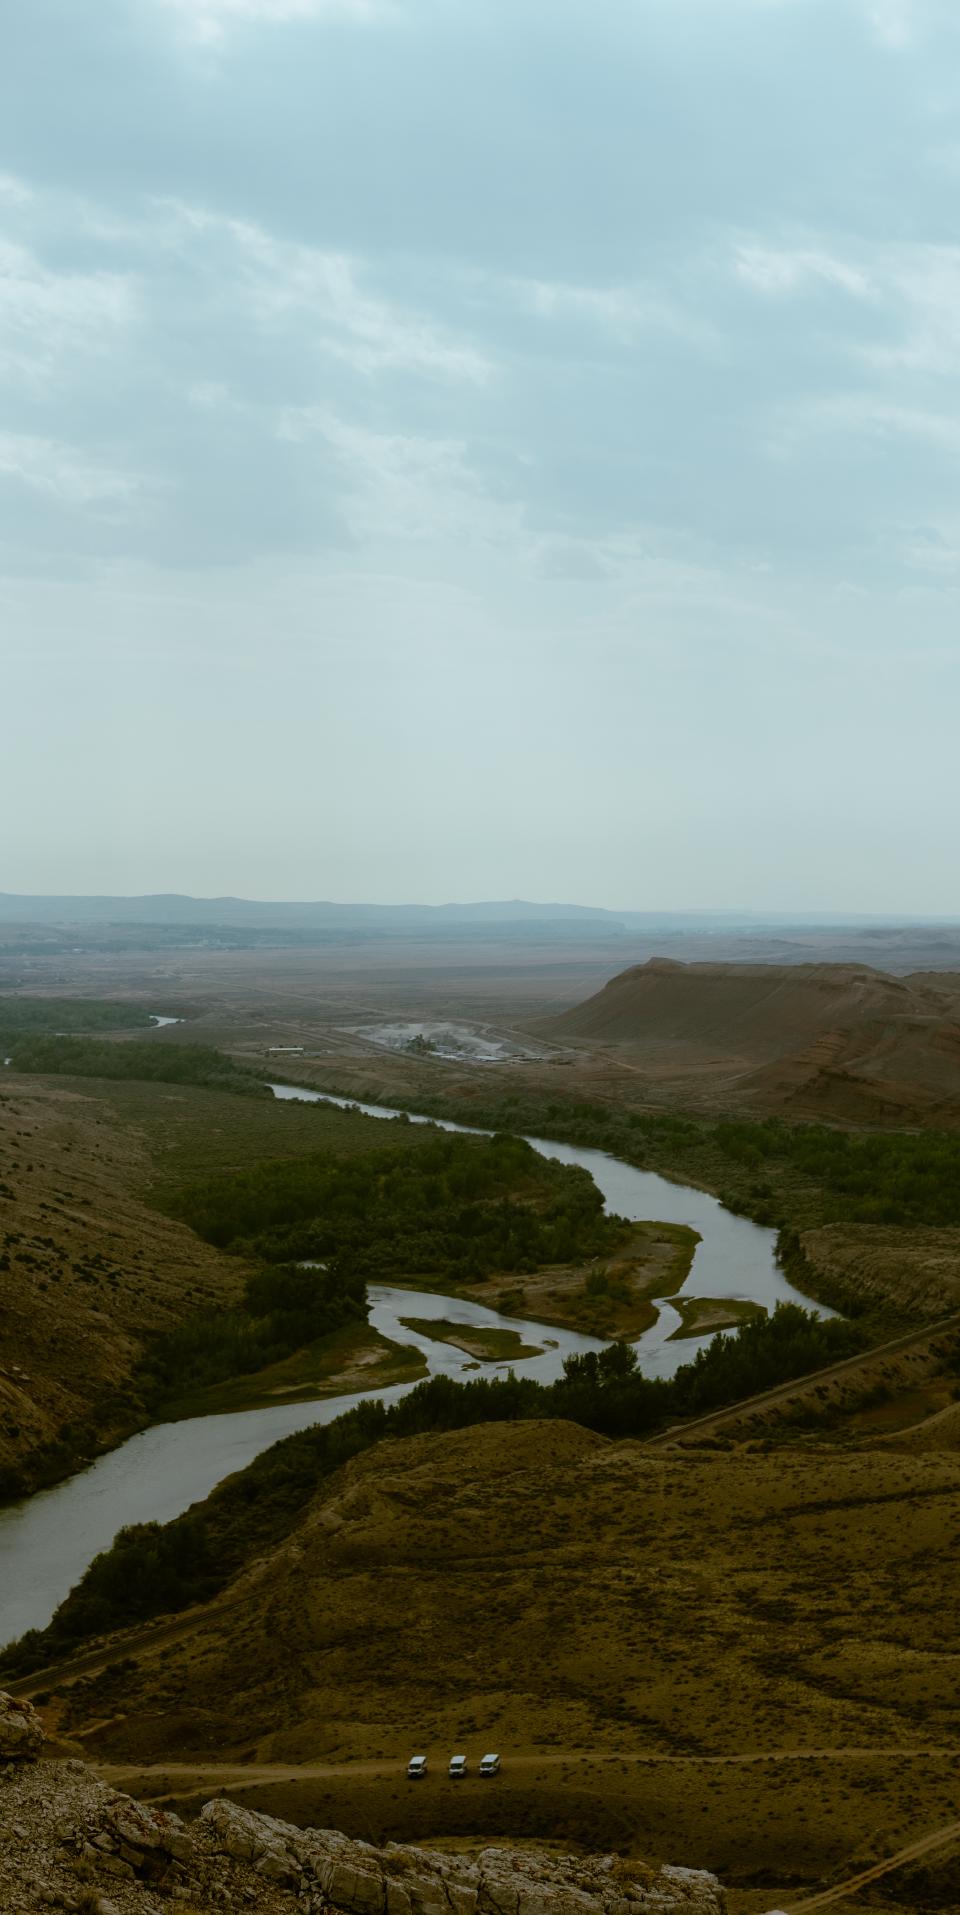
Looking out at the Bighorn River from the top of a measured section on Sheep Mountain.
Some final thoughts:
- The focusing mechanism seemed to be very unforgiving at long distances. Often, I ended up with images that looked great in the viewfinder/camera LCD screen, but were slightly out of focus when viewed at 1:1. Your mileage may vary.
- The aluminum scratches somewhat easily, so I found myself treating the Sirui more gingerly than I do my Fuji prime lenses.
- I would need to spend much more time with the lens before I would feel comfortable using it for documentation purposes (e.g., for a figure in a publication). In particular, I spent very little time examining lens distortion, which others have described4.
- I found myself wanting the lens to be slightly wider, so I am excited about trying out the Sirui 24mm F2.8 Anamorphic 1.33x.
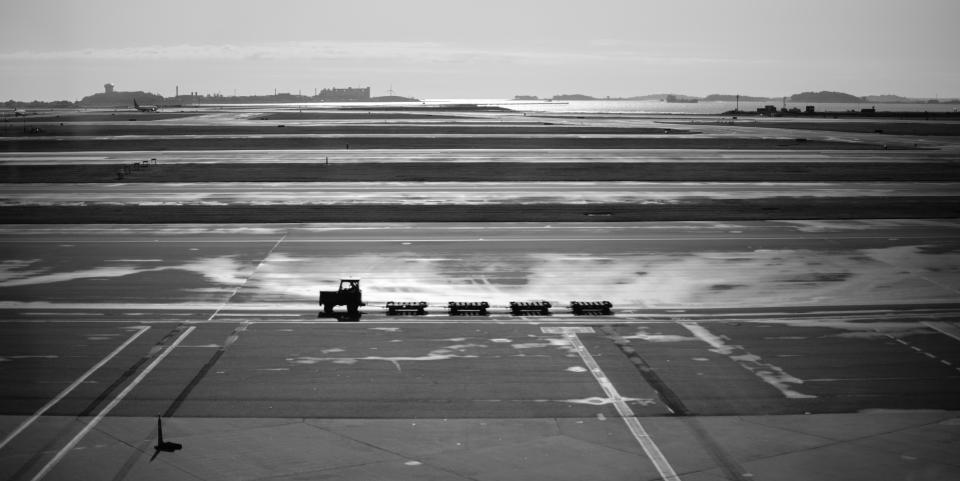
A slightly out-of-focus image taken at Boston Logan International Airport.
[1] I often rent camera equipment, especially if I am just trying it out. As a graduate student, I went two years where I didn’t own a camera, but solely rented for fieldwork and courses. While there are several options available for renting, I primarily use Lensrentals. | Return
[2] The aspect ratio is 2.39:1 for video footage, which the XPro3 natively shoots in 16:9. | Return
[3] I prefer to shrink the image rather than stretch it, as that way I am not creating new information via interpolation. Regardless of which approach you take, you must be able to adjust an image’s height or weight independently to be able to desqueeze it. In Adobe Photoshop, this action can be accomplished by going to Image, selecting Image Size, ensuring that Constrain Aspect Ratio (the link icon) is unchecked, and then multipying either the height or the width by the scaling factor of your choice. | Return